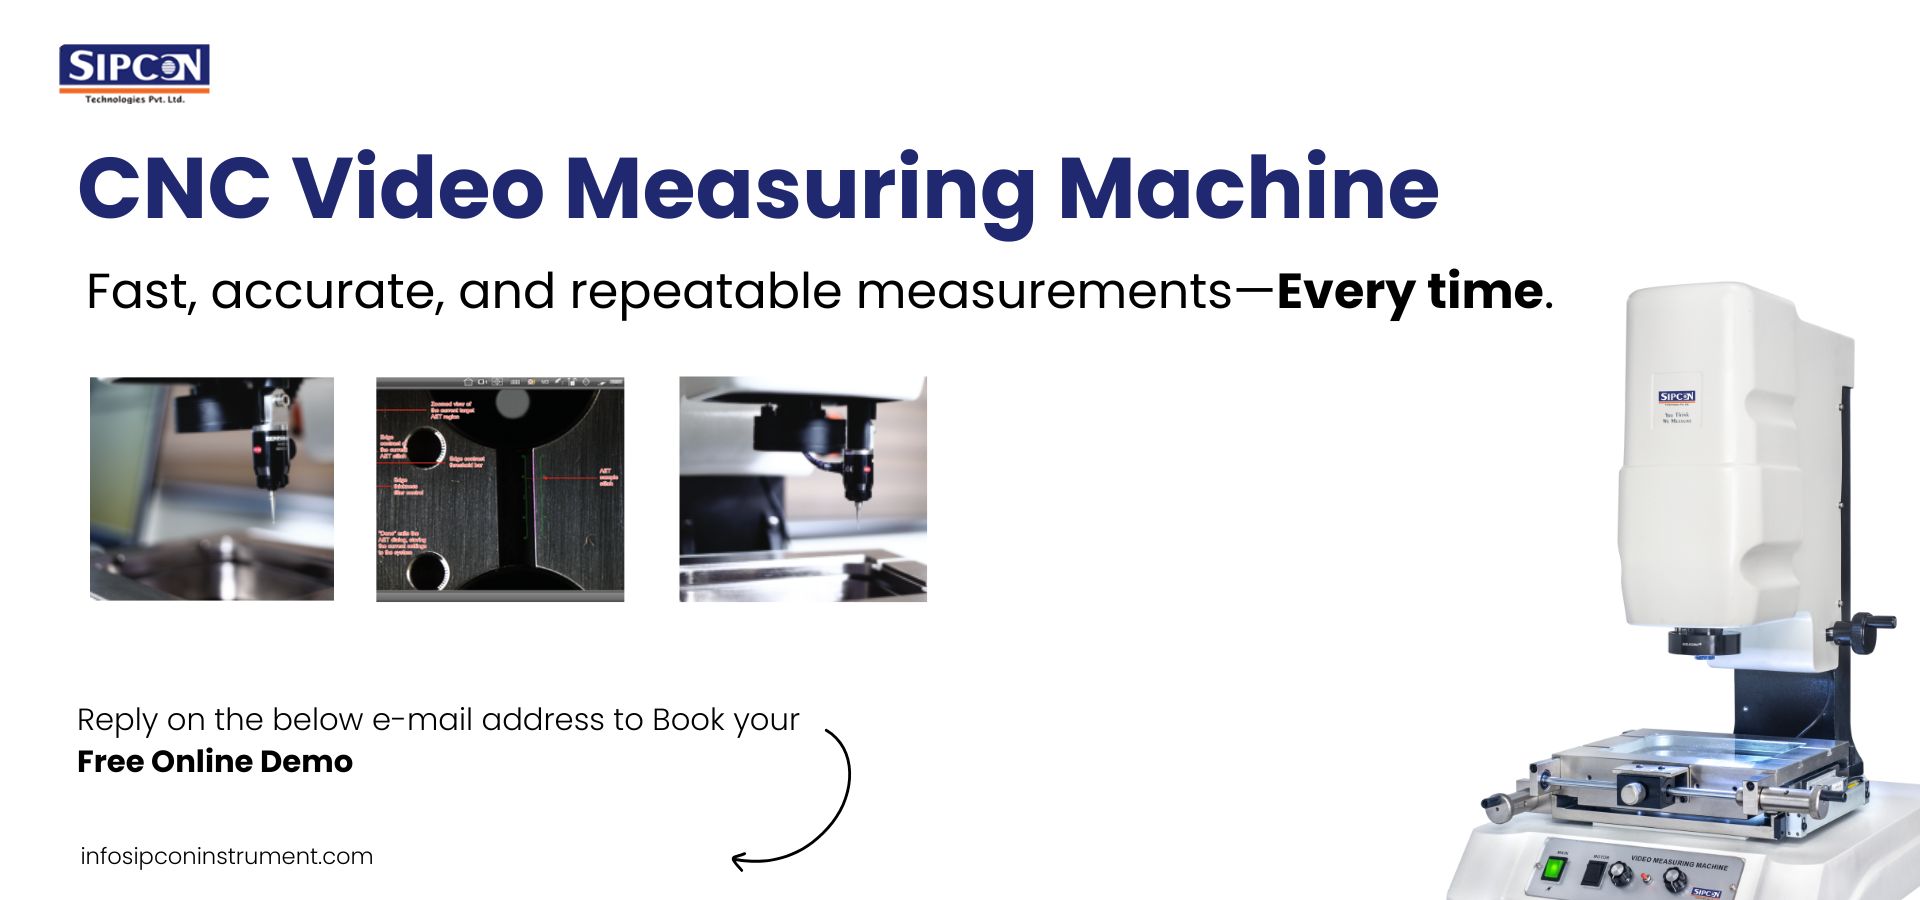
CNC Video Measuring Machines: Speed and Accuracy Combined
A year ago, I visited a mid-sized manufacturing company during a heavy production rush. The owner looked confident but exhausted. He showed me the quality room. Inspectors were standing at benches, checking parts one by one using calipers and micrometers. The lights were bright. Parts were stacked everywhere. Everyone was busy, and nobody was wasting time.
He said something quietly while watching the inspection.
“We’re managing right now. But one more big order, and things will get risky. Not because the team doesn’t care. Because people get tired.”
That situation is not rare. Many factories run exactly like this. Teams work hard, results are good, and customers are happy. Then volumes increase. Tolerances tighten. Delivery pressure rises. That is when manual inspection starts showing its limits.
This is usually the point where manufacturers start looking seriously at CNC video measuring machines.
Where does Manual Inspection Start Struggling?
Most factories begin with basic inspection tools – Vernier calipers, Micrometers, and height gauges. These tools are reliable when parts are simple and quantities are under control.
Problems start appearing when production increases.
Some common issues are easy to recognize:
- Different operators record slightly different readings
- Inspection time increases when many dimensions are to be checked
- Fatigue affects concentration during long shifts
- Inspection records become difficult to maintain for audits
At low volume, these problems can be managed. When production ramps up, they create delays, rework, and lead to dissatisfied customers.
Manual inspection depends heavily on human focus. And focus has limits.
What CNC Video Measuring Machines Change?
CNC video measuring machines remove physical contact from the inspection process. Instead of touching the part, they use cameras, optics, controlled lighting, and CNC-driven movement.
Once a program is created for a component, the inspection process becomes repeatable – the same steps, the same sequence, the same output every time.
- The operator places the part on the stage.
- The cycle starts.
- The system measures features digitally.
No interpretation, no judgment calls, no variation between shifts.
This is where consistency improves immediately. Speed and Accuracy work together.
In manual inspection, speed usually comes at the cost of accuracy.
Faster manual Inspection = Higher Mistakes
With CNC video measuring machines, speed supports accuracy instead of reducing it.
A single inspection cycle can measure:
- Radii and curves
- Angles
- Complex profiles
- Distances between multiple features
Because the stage movement and measurement process are controlled by CNC, accuracy remains stable even when inspection speed increases. This allows inspection to keep up with production without cutting corners. For many shop floors, this is the biggest advantage. Reducing Operator Dependency. Skilled inspectors are valuable, but they are also difficult to replace. Even experienced inspectors can record slightly different results under pressure. CNC video measuring machines reduce this dependency. Once the program is set:
- The operator loads the part
- Starts the cycle
- The system does the inspection
Results remain consistent across shifts, days, and batches. This reduces disagreements between production and quality teams and simplifies decision-making.
For many factories, this alone justifies the investment.
Measuring Delicate and Difficult Components
Some parts do not work well with contact-based inspection. Thin plastics, rubber components, sheet metal features, or small precision parts can deform when touched.
CNC video measuring machines avoid this issue completely through non-contact measurement. The part remains unchanged while accurate data is captured. This is especially important in industries where even minor inspection damage can lead to rejection.
Inspection Data That Actually Helps
Inspection is not finished once measurements are taken. Documentation matters. CNC video measuring machines generate digital reports automatically. These reports include:
- Measured values
- Tolerances
- Images of the part
- Pass/fail results
Everything is stored digitally. Reports are easy to share and retrieve during audits. This data helps identify trends instead of reacting only after problems appear. Inspection becomes a source of information, not just a checkpoint.
Why are many factories switching now?
This shift is not about following trends. It is driven by real production pressure.
- Customers expect consistency.
- Auditors expect traceability.
- Production teams expect speed.
Manual inspection struggles to meet all three at the same time. CNC video measuring machines offer a practical balance between speed, accuracy, and documentation.
Speed without accuracy leads to scrap.
Accuracy without speed slows production.
CNC video measuring machines bring both together in a way that fits modern manufacturing conditions.
For companies planning growth, improving quality control, or reducing daily inspection stress, this technology is becoming difficult to ignore.
If your current inspection methods are limiting accuracy or consistency, it may be time to see a better approach in action.
In today’s manufacturing environment, the factory that measures better truly wins.
Connect with us:

