sipcon instrument logo
Multi Sensor CNC Inspection System

Multi Sensor CNC Inspection System

Precise Measurements for Every Detail, Every Time

  • Smart Software Integration
  • One Machine, Many Sensors
  • Faster Inspection Smarter Inspection
  • 2D & 3D Measurement in One Go

Video measuring machine for a new level of unmatched accuracy

An advanced version of video measuring system for the Australian industries quality inspection with integrated sensing for unmatched accuracy and efficiency. Designed for meeting measurement needs of rubber and plastic parts from electrical to automotive

3 in 1 Vision, Touch Probe & Laser

3 in 1 Vision, Touch Probe & Laser

Manufacturers in Australia can now leverage three high-performance measurement technologies in one machine: Vision for quick 2D checks and Touch Probe for accurate 3D checks.

Rotary Indexer

Rotary Indexer

Manufacturers in Australia can leverage the rotary indexer, which accurately rotates each part while measuring to allow inspection from multiple angles.

Granite Base & Platform for Better Stability

Granite Base & Platform for Better Stability

Engineered with a sturdy granite foundation and platform, the system provides optimal rigidity and vibration and temperature stability.

Measure Multiple Dimensions in a Single Image

Fast and accurate measurements in one image Change the way you inspect with captured 3D!

3D Measuring Software SIPMEAS

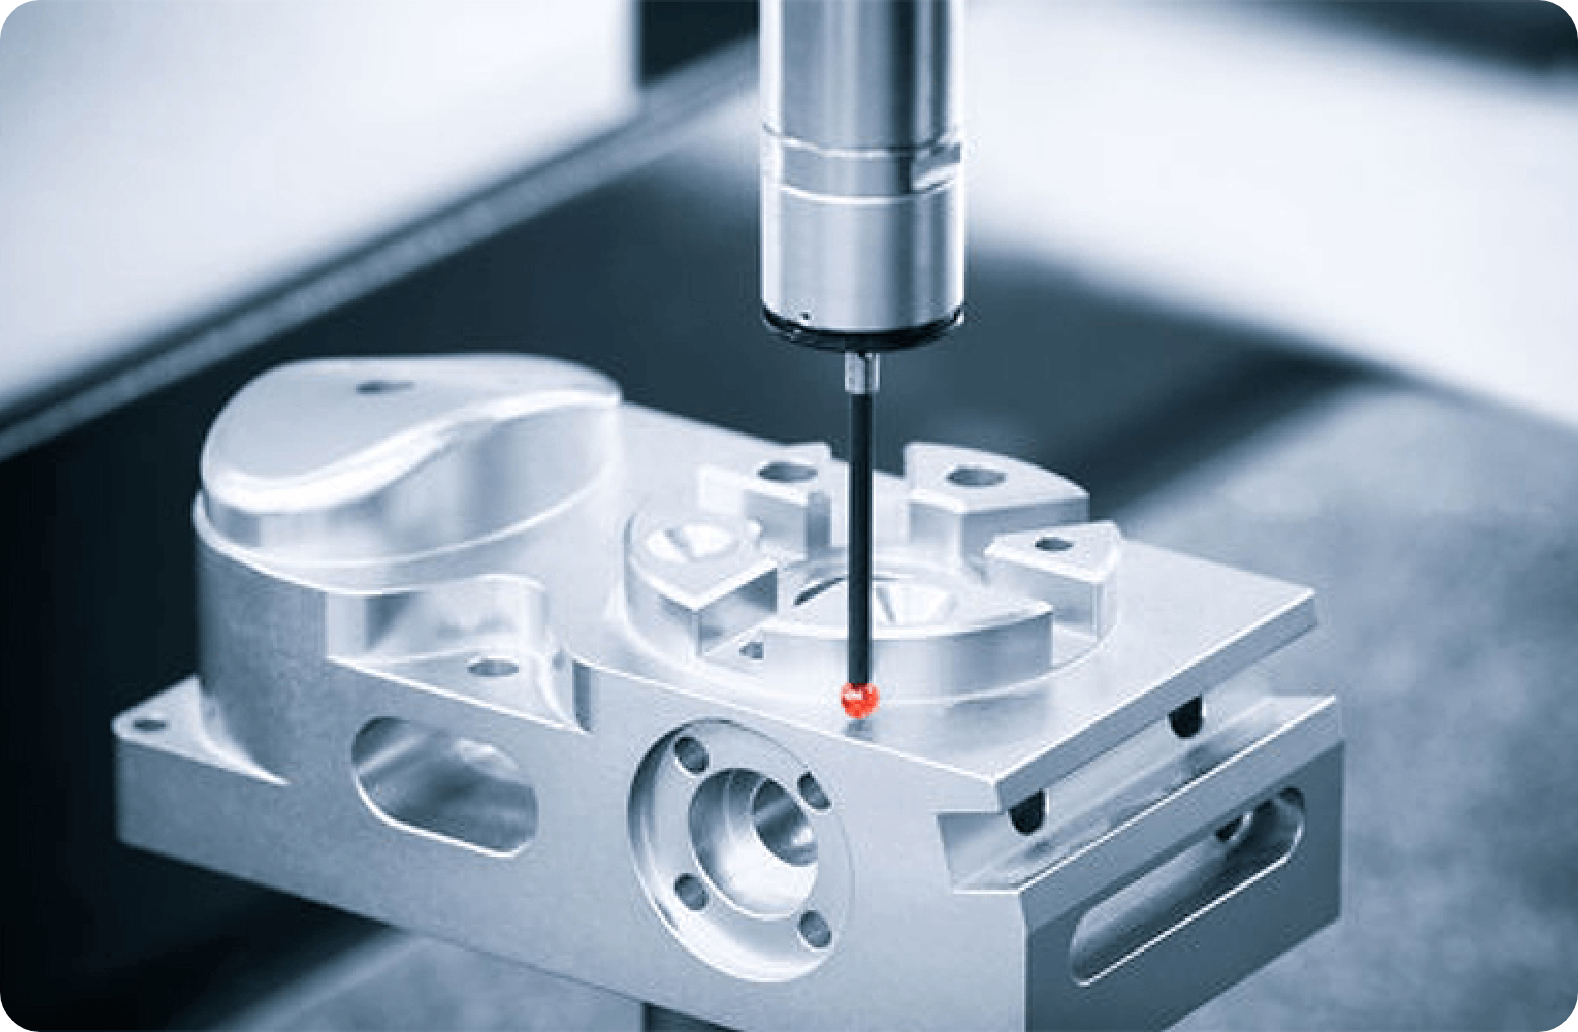
Probe for 3D Measurements
Light Control

Light Control

Each channel of the the Program intensity level for all four channels of the light controller to achieve uniform and reliable illumination, ensuring repeatable results These settings can be saved for use repeatedly.

Click & Measure Top Menu Bar

Data Management

Easily export measurement data in DXF or IGS file formats for use with your CAD CAM systems. You can interact with the graph to calculate the distances or measurement features.

Advanced Edge Teach

Overlap Comparison

You can overlay on the parts in magnification the DXF files you need to see of. Very quickly check to see if the part is in tolerance.

Focus Indicator for accurate 3-D Measurement

Focus Indicator for accurate 3-D Measurement

The system automatically identifies optimal focus and corresponding Z required setting to ensure accurate measurements; this plays a critical role for accurate 3D inspections.

Metlogix M3 Software Features

Part Programming and Playback

One Click Thread Measurement

Quick and accurate measurement of threads help minimize inspection time and errors from manual inspections!

DXF Overlay

Touch Probe Support

You can pick up 3D in planes, cones, cylinders, and spheres and make annotations. You can then rotate the parts to inspect in more detail viewed from any orientation!

Fully Customizable Reporting

Reporting - Fully Customizable

• export results in a format
• Custom your company name and other information
• Include logos, page numbers, or marked components.
• Include images of the measured part in the report.
• Reference when the inspection was completed.
• User and Component Details

Results On Image & Image Capture

Image Stitching & Soft Fixturing

Super Image is a system that uses multiple images captured by cameras to generate a seamless, scaled image, allowing to examine large part on CNC and manual machines easily.

Probe for 3D Measurements

Advanced Edge Teach

Improve edge detection performance under varied lighting and imaging environments. Quickly and accurately and capture even low contrast and tighter spaced features.

Probe for 3D Measurements

Download More Information

Combined Catalogue

Combined Catalogue

Explore all our dimensional measurement solutions together in one complete catalogue

VMM Product Catalogue

VMM Product Catalogue

Download the Combined brochure of Vision measuring system from the leading manufacturer in Australia

Factor Guide to Buy VMM

Factor Guide to Buy Vision Measurement System

Get measurement expert guidance from the leading manufacturer of video measuring machine

×

Download The Information

Contact Us

Let’s Tackle Your Toughest
Measurement Problems—Start Here
contact-bg
6 + 4 =